
 Jenna Saxton
 Planning a trip to Walt Disney World can be complicated. But, luckily, there’s a simple way to keep all of your reservations and plans organized – the My Disney Experience app!
This mobile app (which links directly to your My Disney Experience account) is designed to help you get the most out of your days leading up to your Disney trip and during your Disney trip. From making dining reservations in advance, to buying merchandise without long lines, to navigating the theme parks, this app has it all.
But you need to know how to use it for it to be helpful, and that’s what we’re here for! So, whether this is your first time using the My Disney Experience app or you’re a seasoned park-goer looking to understand it a bit better, we’ve got all the insider tips and tricks you need to make the most of your next Disney vacation!
Table of Contents
- What Is The My Disney Experience App?
- What Can The My Disney Experience App Do?
- Is My Disney Experience App Free?
- Setting Up the My Disney Experience App
- How To Share My Disney Experience App With Family
- How To Navigate Dining On My Disney Experience App
- How to Navigate Park Information on the My Disney Experience App
- Navigating Lightning Lane Multi Pass, Single Pass, and Premier Pass Selections
- Navigating Park Passes, Shopping, and Payments in the My Disney Experience App
- Troubleshooting Common Issues
- My Disney Experience App Frequently Asked Questions

What Is The My Disney Experience App?
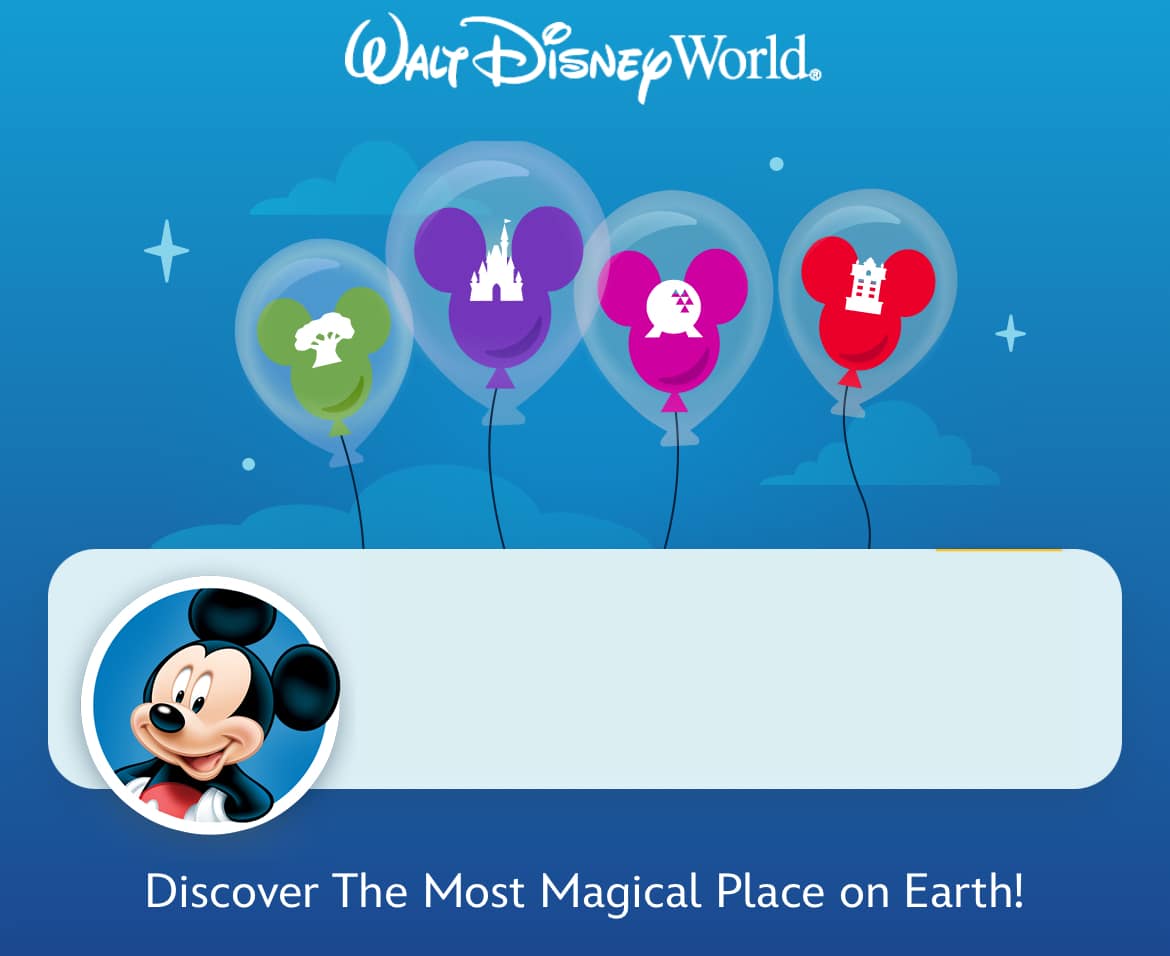
The My Disney Experience app is a mobile application designed to help you plan your vacation, get up-to-date information about the theme parks, and so much more. The app is available for download on both Apple App Store and Google Play.
With the My Disney Experience app, you can do everything from checking into your hotel, to making dining reservations, viewing attraction wait times, and even unlocking your hotel room door. The app also allows you to view park maps, find character meet-and-greet locations, and link your account with friends and family. It’s basically the go-to spot for all things related to your Disney World vacation.
While you can certainly go to Disney World without it, most guests find that it’s nearly impossible to navigate the parks and keep all of their plans straight without the app on their phone. It’s convenient and always at your fingertips!
What Can The My Disney Experience App Do?
One of the reasons that the My Disney Experience app is so important to have downloaded to your phone during your Disney trip is that it can do nearly everything! From the moment you start planning your trip to the second you leave to go home, you’ll be using the app non-stop. Why? Well, here are all the things that you can do in the app:
- Purchase and manage Lightning Lane Multi Pass, Single Pass, and Premier Pass Selections
- Mobile order food
- Make dining reservations
- Check into your hotel
- Open your hotel room door
- Access, purchase, and download your Disney PhotoPass images
- Get theme park information including park maps, current ride wait times, character meet-and-greet locations, and theme park hours
- See when the next Disney bus will arrive at your hotel
- Mobile check out at merchandise locations
- Activate MagicBands
- Get recommendations for where to eat, what rides have the lowest wait times, and more
- Join the virtual queue for select attractions
- Use as your ticket to get into the park
- Contact guest services including concierge at your hotel
- Track where you parked your car
Is My Disney Experience App Free?
Yes, the My Disney Experience App is free to download and use. You can download it from the Apple App Store or Google Play Store for your iPhone, iPad, or Android device.
Keep in mind that, while the app itself is free, some features such as purchasing park tickets or upgrading to a MagicBand or MagicBand+ may require additional fees. However, you can still use the app without purchasing any additional features.

Setting Up the My Disney Experience App
Ready to use the app and start planning your next Disney trip? Here’s a step-by-step guide on how to set up the My Disney Experience app.
Downloading the App
To get started, you’ll need to download the My Disney Experience app from the Apple App Store or Google Play. The app is free to download and use.
Creating an Account
Once you’ve downloaded the app, you’ll need to create an account. You can either sign up with your email address or use your existing Disney account. If you don’t have a Disney account, you can create one for free on the Walt Disney World website. If you already have an account, it’s important to sign in with those credentials to ensure your park tickets and current reservations are linked.
Linking Tickets and Reservations
Before you can start using the app to plan your trip, you’ll need to link your tickets and reservations. You can link your park tickets, hotel reservations, and dining reservations to your account in the app’s “Future Plans” section. There’s a good chance they’ll already be linked if you’re signed in to the correct Disney account, but you can also link them manually.
How To Share My Disney Experience App With Family
If you’re traveling with family or friends, you can share your My Disney Experience account with them. This will allow you to make Lightning Lane selections, secure dining reservations, and manage PhotoPass images for everyone in your group.
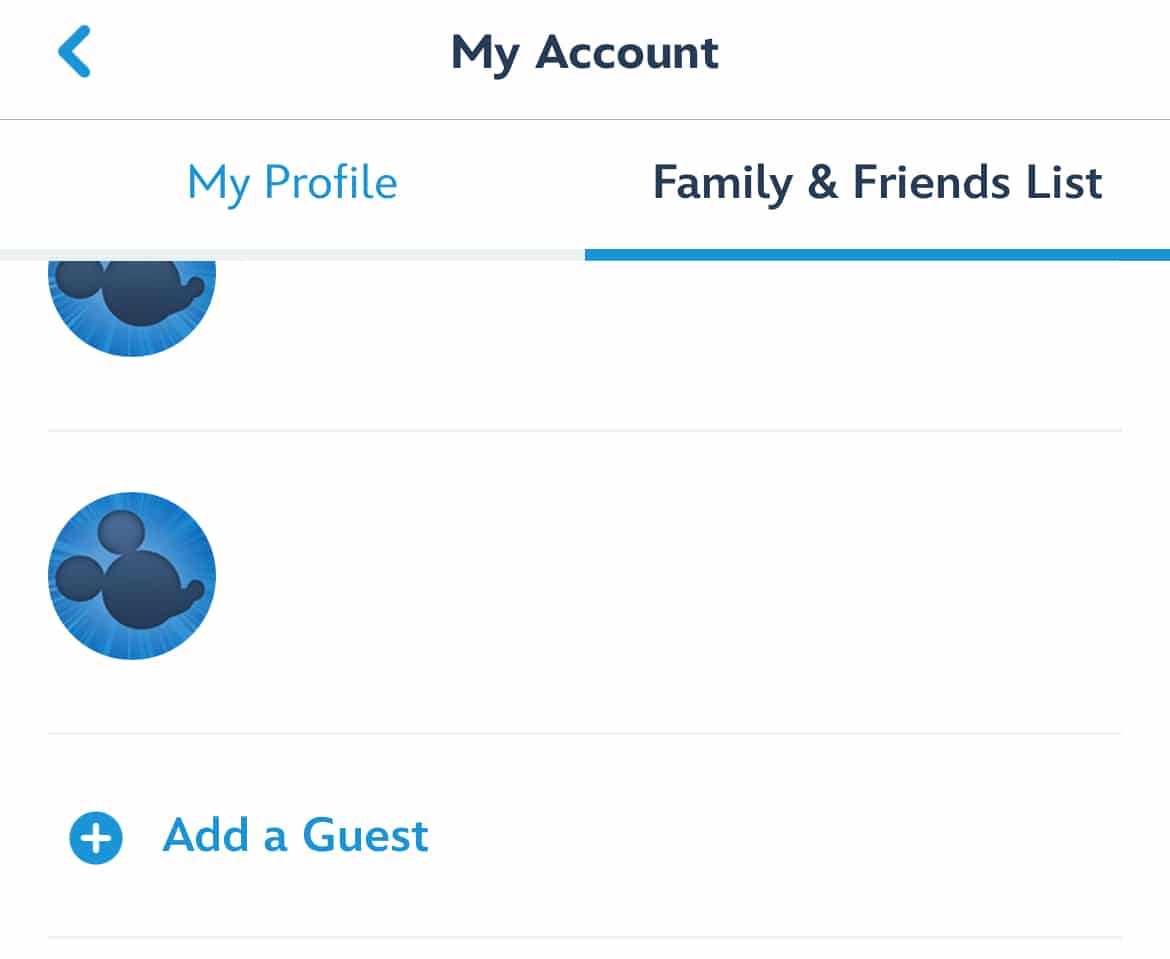
To share your account, go to the “My Profile” section of the app and tap the “Family & Friends List” tab. Scroll down and select “Add a Guest” and follow the prompts to add your family and friends to your account.
As we’ve already mentioned, the My Disney Experience app can do a lot…but, it’s not always easy to navigate. If you’re new to the app, here are some of the key features and how to use them:
How To Navigate Dining On My Disney Experience App
Booking Dining Reservations
To make a dining reservation for any table service restaurant in Disney World, follow these steps:
- Open the app and tap the “+” icon at the bottom. Then select “Check Dining Availability.”
- Select your party size, date range, time frame, and location area you’d like to make a reservation for.
- Browse through the available restaurants and select the one you want.
- Follow the prompts to confirm your reservation.
Keep in mind that dining reservations open 60 days in advance for all guests. If you have a reservation at a Disney World Resort hotel you can also make reservations 60 days in advance plus the length of your stay (up to 10 days).
Mobile Ordering Food
Mobile Ordering is a great way to skip the long lines at quick service restaurants in the Disney World parks and resorts. To use this feature, follow these steps:
- Open the app and tap the “+” icon at the bottom. Then select “Order Food.”
- Select the restaurant you’d like to mobile order from and time you’d like to pick it up.
- Browse the menu and select the items you want to order.
- Customize your order as needed.
- Pay for your order using a credit card or Disney Gift Card.
- When you arrive at the restaurant, tap “I’m here” in the app to let the restaurant know you’re ready to pick up your food.
How to Navigate Park Information on the My Disney Experience App
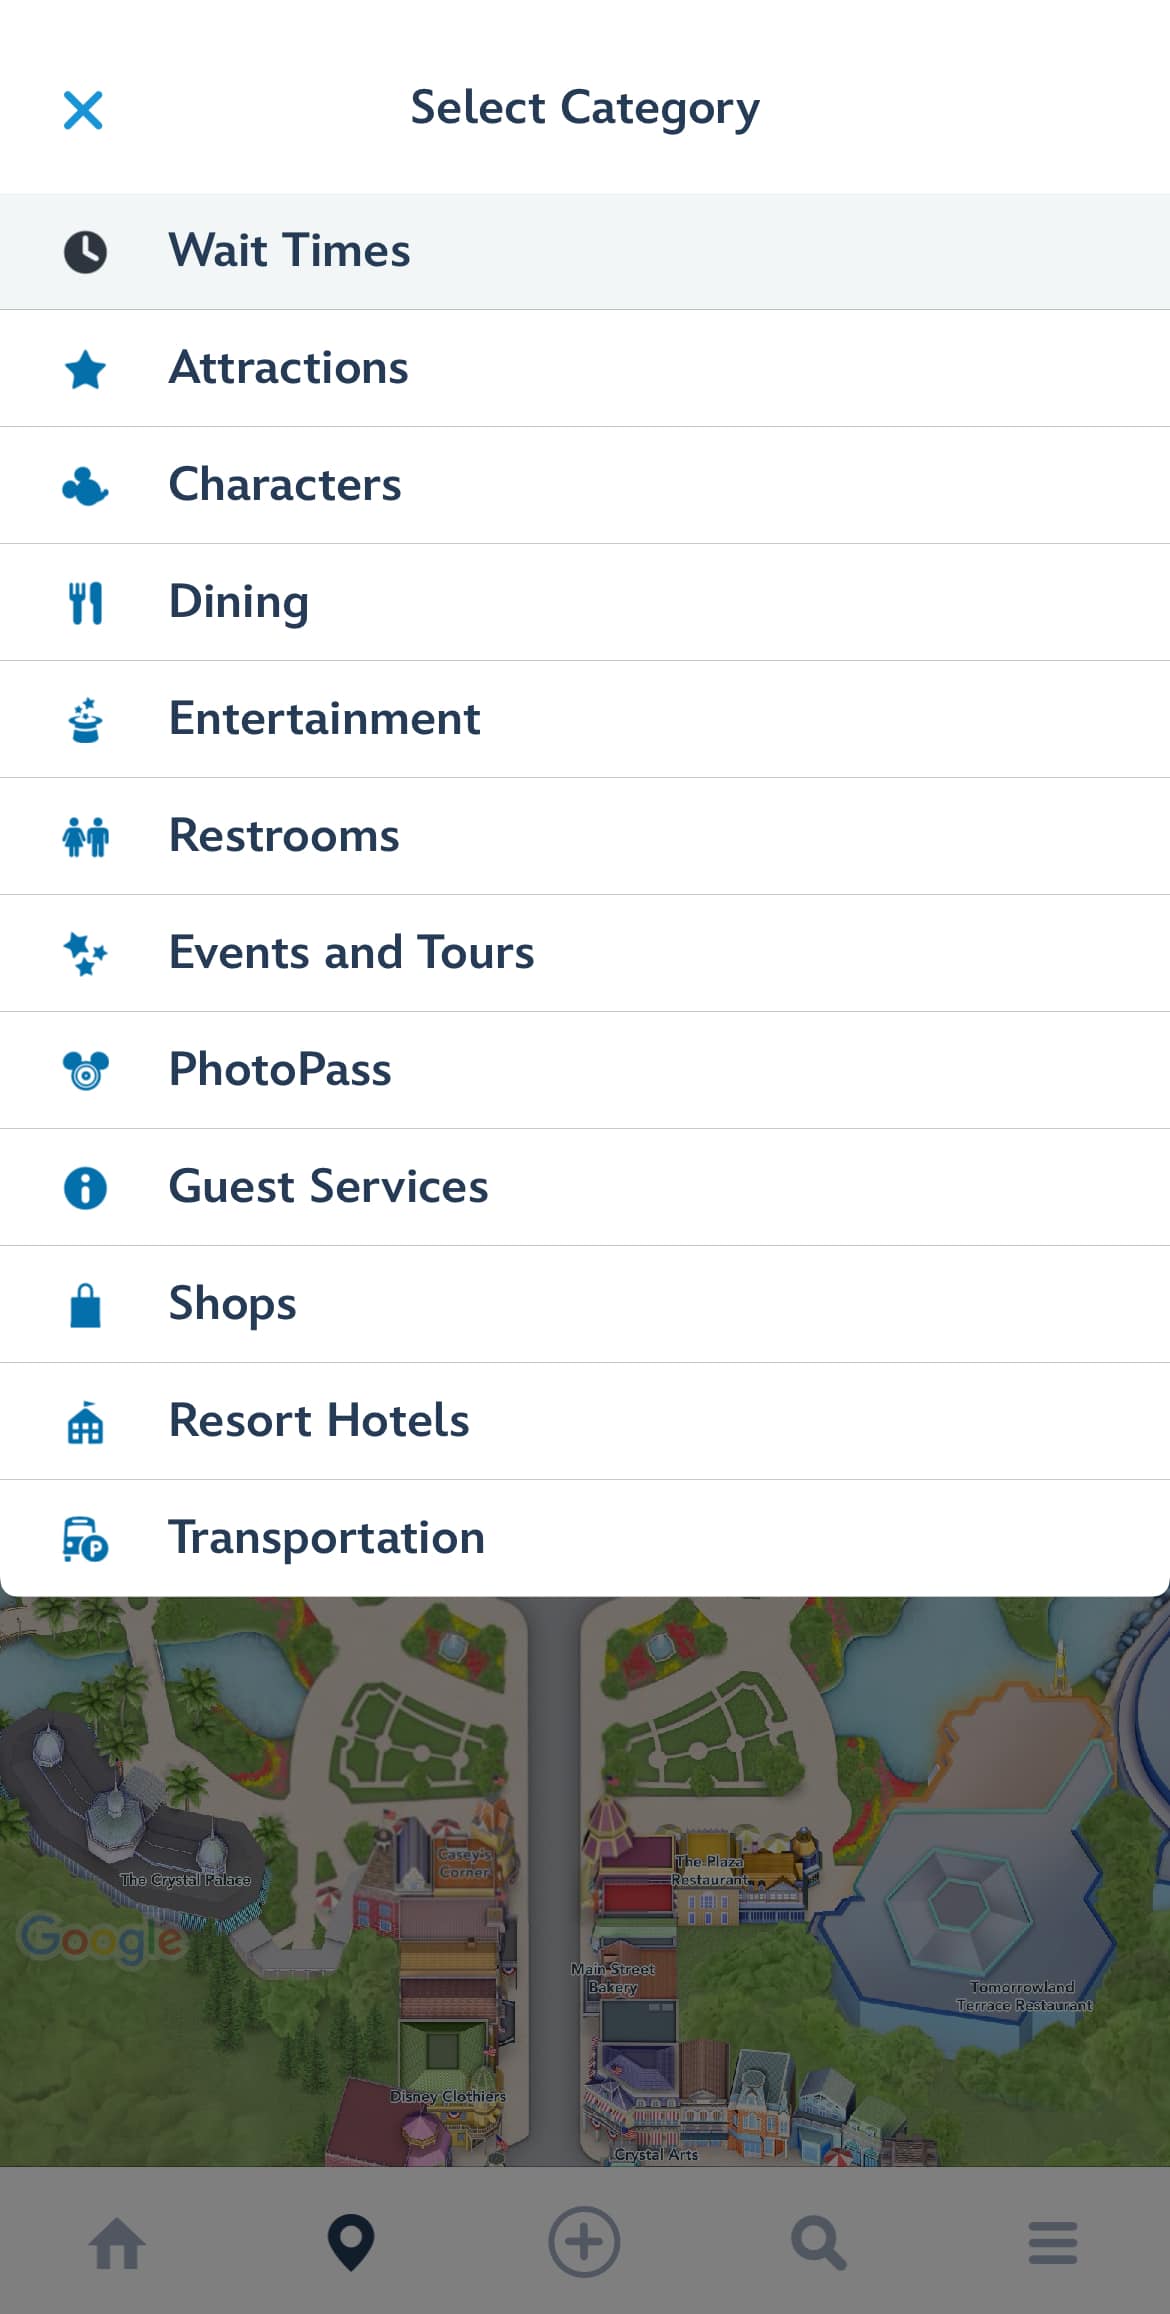
My Disney Experience App provides up-to-date information about the parks, including park hours, attraction wait times, and show times. To access this information, simply open the app and select the location pin icon at the bottom of the screen. From there you can filter by the park you’re at and what information you’re looking for.
Disney Genie Service
Disney Genie is a complimentary tool that provides recommendations for what to do throughout your day based on the preferences you input. To enter preferences and view recommendations, go to “My Disney Genie Day” in the app.
Disney PhotoPass
To easily view, purchase, and download the Disney PhotoPass images taken during your trip, open the My Disney Experience app and scroll down on the welcome page. You’ll find a Disney PhotoPass section where you can click “My Photos” to view or “Link Photos” to add any images that are missing.
Navigating Lightning Lane Multi Pass, Single Pass, and Premier Pass Selections
Lightning Lane Single Pass, Multi Pass, and Premier Pass are Disney’s paid “skip-the-line” passes available for purchase by all guests. Disney World hotel guests can purchase up to 3 Lightning Lane Multi Pass reservations and/or a Lightning Lane Single Pass up to 7 days prior to their check-in date, for the length of their stay. Purchasing a Lightning Lane Premier Pass allows guests to bypass time selections by granting them one entry to each Lightning Lane attraction per day, whenever they’d like. All other guests will be able to do this up to 3 days prior to their trip.
To purchase Lightning Lane Multi Pass, Single Pass, or Premier Pass, click the purchase button on the main welcome screen in the app when your booking window opens, then follow the prompts to confirm your party and pay. You’ll be able to make all your selections, including both Multi Passes and Single Passes, before purchasing.
Once purchased, go to the Lightning Lane Passes section of the home screen and select the attraction and Lightning Lane return time that you’d like. Remember that you can only book a new Lightning Lane Multi Pass selection after you’ve redeemed one of your current selections, so you’ll need to navigate back to this part of the app after you scan into the Lightning Lane at the ride you have a reservation for.
Navigating Park Passes, Shopping, and Payments in the My Disney Experience App
Adding Park Passes to MagicMobile
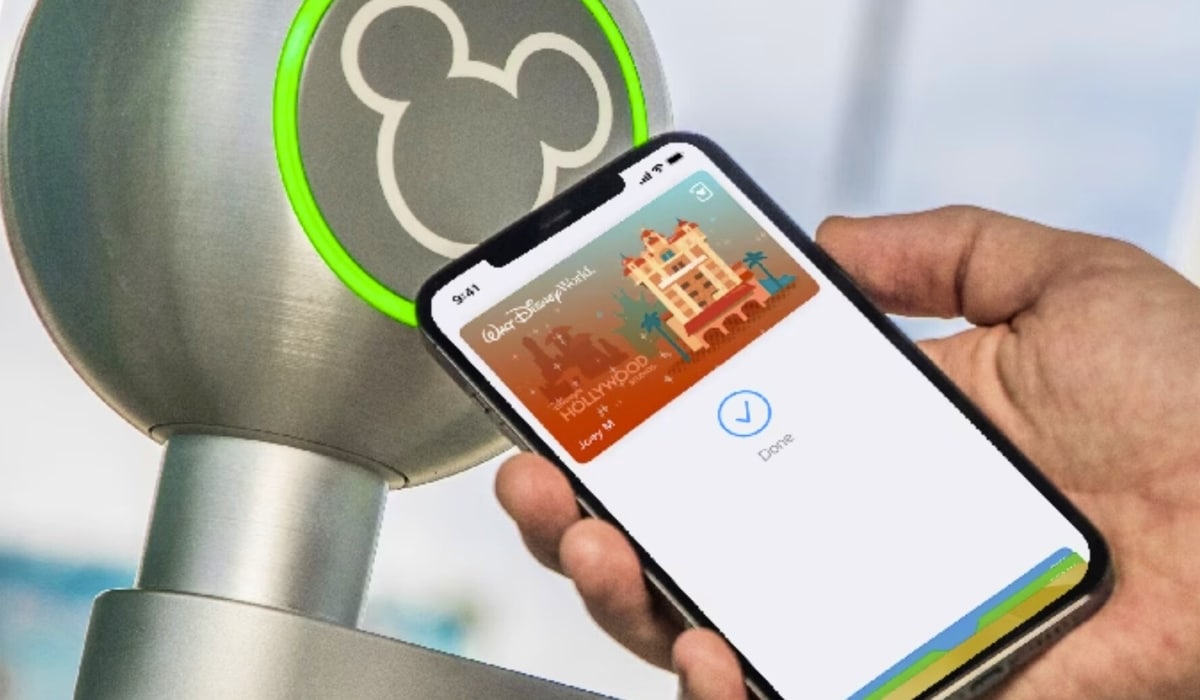
MagicMobile is a new feature that allows you to use your phone as your park ticket. To use it to scan into the park, follow these steps:
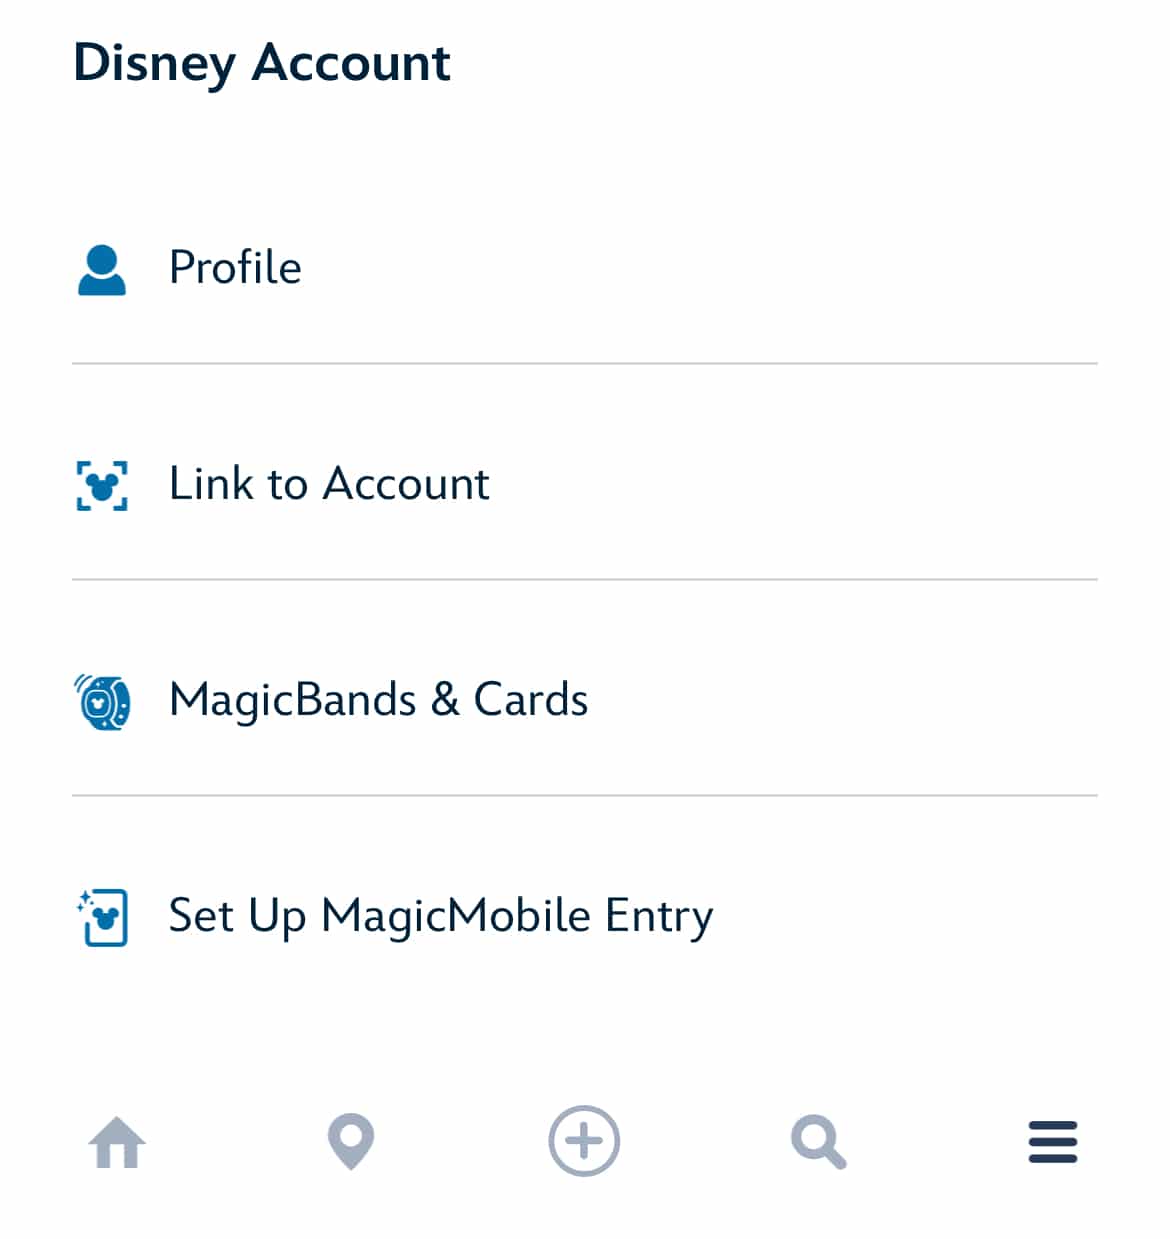
- Open the app and tap on “Disney MagicMobile” from the main menu.
- Follow the instructions to set it up if your tickets aren’t already linked.
- When you arrive at the park, simply hold your phone up to the scanner to enter.
Merchandise Mobile Checkout
Merchandise Mobile Checkout is a feature that allows you to purchase merchandise from your phone without having to wait in long lines at the register at select stores in Disney World. To use it, follow these steps:
- Open the app and tap the “+” icon at the bottom. Then select “Merchandise Mobile Checkout.”
- Select the store that you are at.
- Scan the barcodes for the items you’re purchasing.
- Pay for your order using a credit card or Disney Gift Card.
- When you exit the store, find a Mobile Merchandise Checkout station and have the Cast Member scan the barcode to confirm your purchase. You can also pick up a bag for your items here!
Storing Payment Information
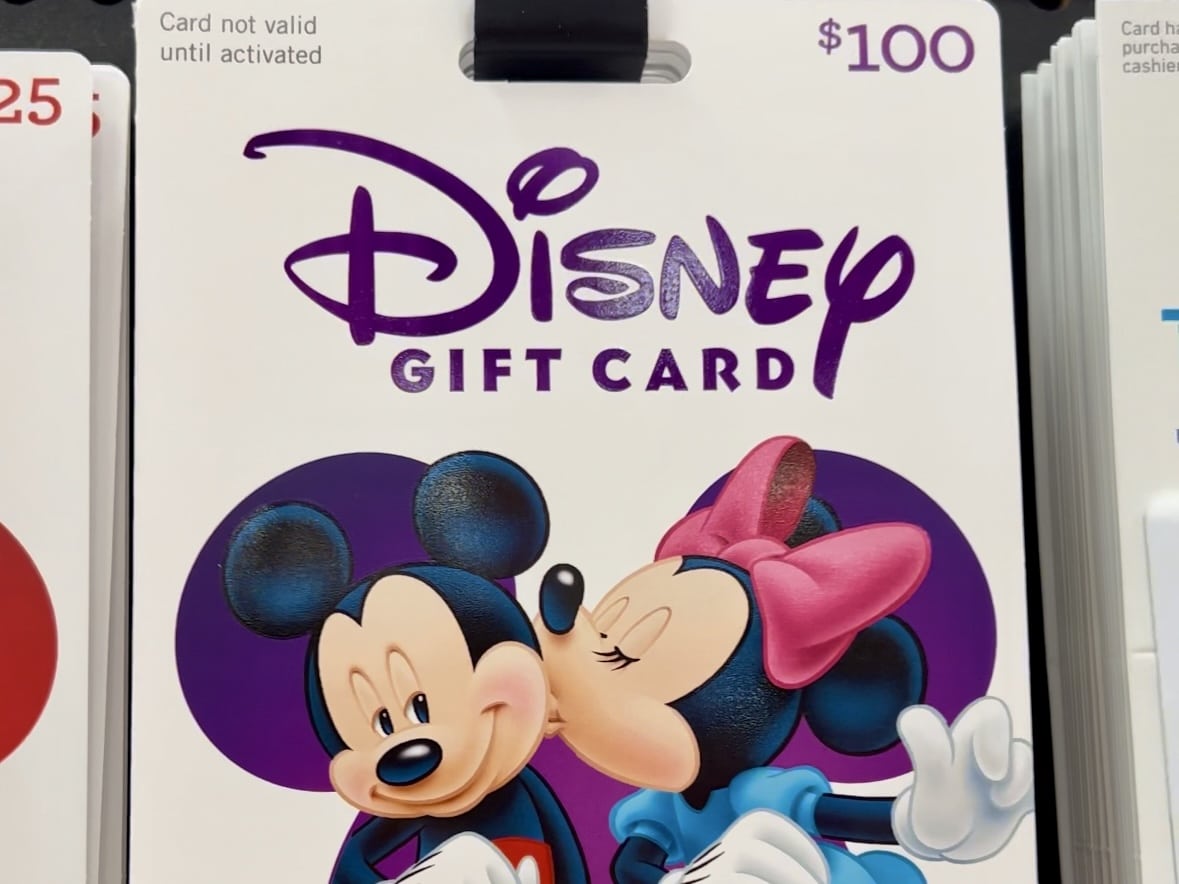
While you can’t make resort vacation package payments on the app, guests can store payment information in the form of credit cards or gift cards to purchase items such as Lightning Lane passes, mobile orders, or Mobile Merchandise checkouts.
- Open the app and tap the three-line menu button at the bottom right.
- Scroll down to “Account”, then select “MyDisney Wallet”
- Follow the prompts on the screen to add a payment method.
Troubleshooting Common Issues
If you’re experiencing issues with the My Disney Experience app, don’t worry, you’re not alone. Here are some common issues and troubleshooting tips to help you get back on track.
Connectivity Issues
One of the most common issues with the My Disney Experience app is connectivity problems. If you’re having trouble connecting to the app, try the following:
- Check your internet connection – Make sure you have a stable internet connection and that your device is connected to the internet.
- Restart the app – Close the app and reopen it to see if that resolves the issue.
- Restart your device – Sometimes restarting your device can help resolve connectivity issues.
Booking Errors
Another common issue with the My Disney Experience app is booking errors. If you’re having trouble booking a reservation or don’t see one that you’ve made, try the following:
- Check availability – Make sure the reservation or experience you’re trying to book is actually available.
- Check your account – Ensure that your account information is up to date and that you have the necessary permissions to book the reservation or experience.
- Contact customer support – If you’re still having trouble, contact Disney directly. You can find the full list of customer help phone numbers on Disney’s website or you can reach out to them in the My Disney Experience app by going to the main menu and selecting “Chat With Us.” Note that you may experience long wait times.
Account Syncing Problems
If you’re having trouble syncing your account information with the My Disney Experience app, try the following:
- Check your account information – make sure it is correct and up to date.
- Check your device – Ensure it is compatible with the My Disney Experience app and that you have the latest version installed.
- Contact customer support – If you’re still having trouble, contact Disney directly. You can find the full list of customer help phone numbers on Disney’s website or you can reach out to them in the My Disney Experience app by going to the main menu and selecting “Chat With Us.” Note that you may experience long wait times.
With the ability to plan your entire Disney vacation, keep track of all your reservations, navigate the parks, and even enter your hotel room and parks, it’s easy to see why the My Disney Experience app has become a necessary part of any Disney trip. So, be sure to download the app and start learning how to use it now so that you make the most out of your next vacation!
My Disney Experience App Frequently Asked Questions
Do I need the My Disney Experience app?
The short answer is, yes. You will need the My Disney Experience app to track wait times, book dining reservations, and to purchase Lightning Lane passes.
Will the My Disney Experience app work without Disney Wifi?
The app isn’t exclusive to Disney World Wi-Fi; however, it does not work offline. Guests will need to be on cell data or Disney Wi-Fi to use the app.
Is the My Disney Experience app free?
Yes! The My Disney Experience app is free.
Is there another way to book Lightning Lanes?
No, the app is the only way to complete Lightning Lane selections.
Comments
Do you think that the My Disney Experience app is necessary for a Disney World vacation? Let us know in the comments your best tips and tricks for navigating the app, as well as any issues you may have encountered on your last trip!